[Golden
Butterfly] Tools: Photoshop, tablet Difficulty: medium Length: 7 steps Summary: coloring and lighting effect |
Step
1 - linework
First of all, you need a clean sketch to start with.
This is one of the most important step in CG, you will find it very
beneficial when you color it. There are many ways you can clean up the
messy linework, one of them is to redo the line in photoshop using brush
tool, and that's what I did. Not recommended if you don't have a tablet,
because it can be very time consuming, and the quality of outcome is
not always guaranteed.
linework preview
before clean up
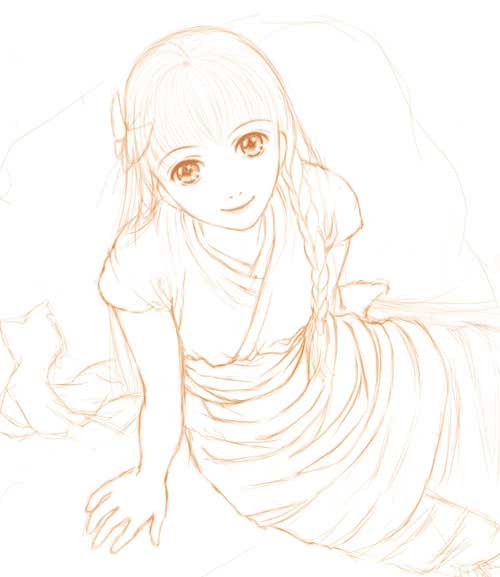
Most of the lines you see here will be erased later, they will be used as references only.
Step
2 - getting started
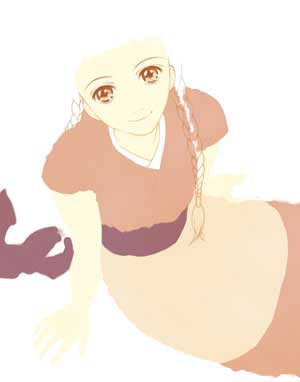
First, I am going to break the coloring down into
parts: skin, hair, clothes...etc., then create several layers for each
of them. You can see that I crossed over the color border on the girl's
left shoulder, it's ok because later it will be covered up by the hair
layer.
blocks
of color |
layers
in photoshop |
 |
 |
The opacity and blending mode of the layers I used here is all 100% and normal. The different arrange of layer orders can make a great difference in efficiency, for example, if I put the hair layer on top of the skin layer, then you don't need to worry about the color border: the girl's forehead.
|
without
hair |
with
hair atop face |
 |
 |
Because the lines will be erased, using hard edge brushes is highly recommended.
| correct
- hard edge |
incorrect
- soft edge |
 |
 |
Step
3 - first layer of color
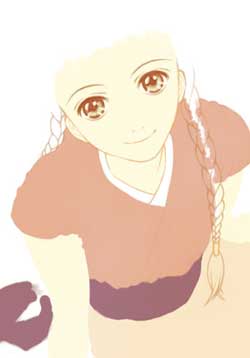
In this step, I am going to add one extra layer
of color for each part. The layers I did in the previous step, would
be used as basic color and clipping masks.
how to use clipping mask: highlight the layer you want to create clipping
mask on, then go to top menu Layer -> New -> Layer..., check Use
Previous Layer to Create Clipping Mask.
Lazy people like me find it very beneficial. (^ ^)
Layers
w lines
preview |
w/o
lines preview |
 |
 |
I find the w/o line preview
looks very creepy...
By hiding the lines, you may discover some color border you need to
fix.
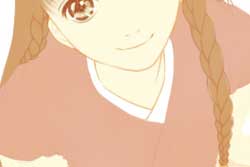
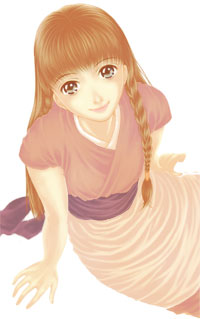
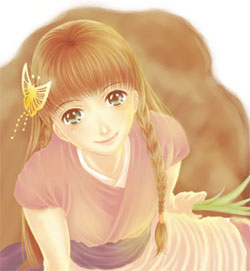
Step
4 - second layer of color
I enriched the color for the hair, face and eyes.
You can see the hair part now has some green and purple colors on it
and some light blushes on the girl's cheek. Notice the edge of the girl's
face is lighten, by doing this, it helps the object to stand out more.
a close up
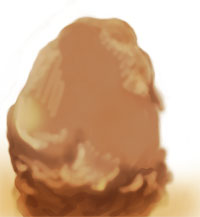
Step
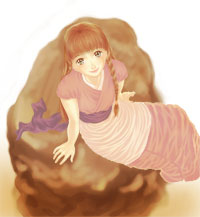
5 - background
... background is my weakness, so I am going to
omit the details of this step.
I used a filter while I was doing the background, Filter -> Pixelate
-> Facet
A brownish cloud is added at the bottom.
the rock |
without rock |
 |
 |
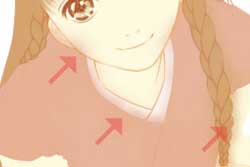
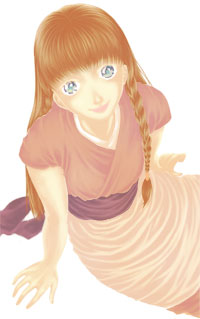
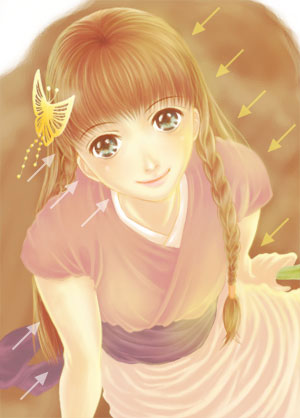
Step
6 - lighting effects
The color of the main light source is yellow, and
it is coming from top right. The yellow arrows indicates the main light,
it is broader, and the blending mode of this layer is lighten; the white
arrows are the back light, it is not as broad as the main light, and
the blending mode is soft light.
Don't forget to give lighting effects to smaller parts like lips, cheeks
and nose. The gold butterfly is added onto the girl's hair.
The following is not related
to lighting effect, but I am going to include it anyway.
Another way to blur the background and make the character stand out
is to use history brush, it is very useful if you are dissatisfied with
the background...
|
before using history
brush |
after using history
brush |
 |
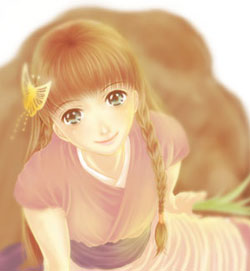 |
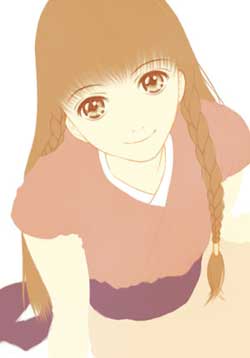
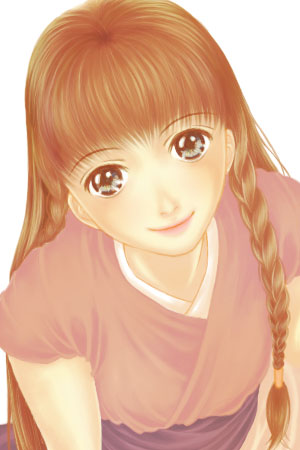
Step
7 - finishing up
It all depends on individual preferences.
I adjust the color balance and level to give the picture a pinkish color.
Also a big chinese character on the bottom left.
DONE!
click to see full-size
picture
